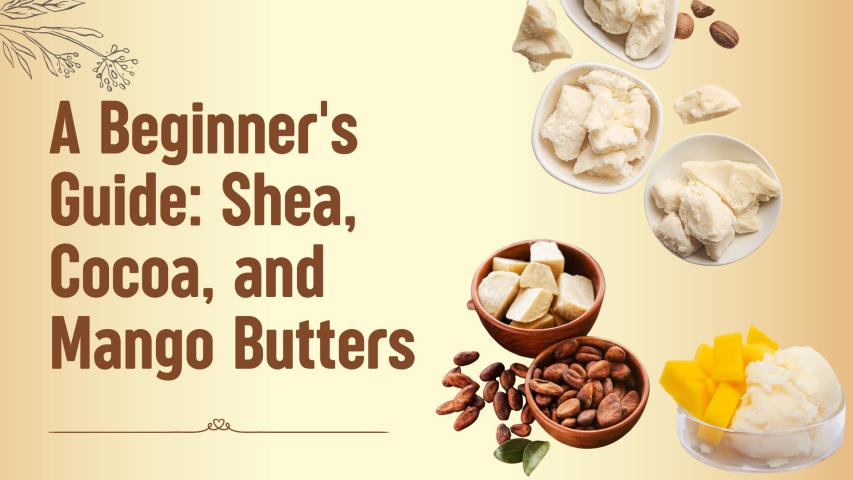
Are you ready to elevate your
skincare routine? Imagine creating your own luxurious butter blends right
in the comfort of your home. DIY beauty not only allows for creativity but also
offers a personal touch that store-bought products simply can’t match. With a
few natural ingredients and some basic tools, you can whip up rich, nourishing
butter blends tailored to your skin’s unique needs. These homemade concoctions
can hydrate, soothe, and rejuvenate your skin while giving you the satisfaction
of knowing exactly what goes into them.
Using natural ingredients is
crucial for effective skincare. Many commercial products are packed with
synthetic additives that can irritate the skin and disrupt its natural balance.
By choosing to make your own butter blends, you embrace the power of nature’s
finest offerings—shea, cocoa, and mango butters, to name a few. These
ingredients are not only gentle but also packed with vitamins and antioxidants
that promote healthy skin. So why not join the growing community of
eco-conscious consumers who prioritize wellness and sustainability? Let’s dive
in and discover how easy it is to create your own luxurious butter blends
today!
Understanding Butter Blends
When it comes to crafting your
own luxurious butter blends, understanding the different types of butters is
essential. Three of the most popular options are shea butter,
cocoa
butter, and mango
butter, each offering unique properties that can enhance your skincare
routine. Shea butter, derived from the nuts of the African shea tree, is
renowned for its deep moisturizing capabilities and anti-inflammatory
properties. It's a fantastic choice for dry or sensitive skin, making it a
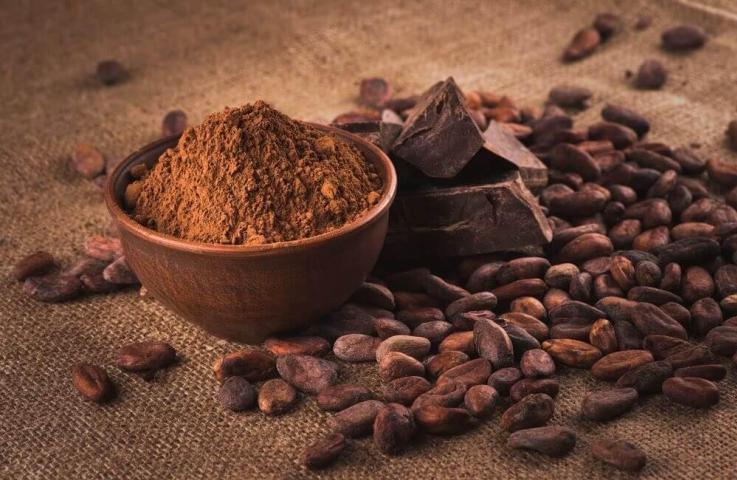
go-to ingredient for many DIY enthusiasts. On the other hand, cocoa butter,
extracted from cocoa beans, is rich in antioxidants and has a delightful,
chocolatey scent. It’s particularly effective in improving skin elasticity and preventing
stretch marks. Lastly, mango butter, which comes from the seeds of the mango
fruit, is lightweight yet deeply nourishing, ideal for oily or combination skin
types.
Choosing the right butter for
your skin type can make all the difference in your homemade creations. If you
have dry skin, shea butter is your best friend; its thick consistency provides
a protective barrier against moisture loss. For those with normal to slightly
oily skin, cocoa butter can offer a richer hydration without feeling too heavy.
Meanwhile, if you're dealing with acne-prone or oily skin, mango butter's
lighter texture can help hydrate without clogging pores. Understanding your
skin’s needs will not only help you select the perfect base for your butter
blend but will also enhance the effectiveness of your DIY skincare products.
Moreover, blending these butters
can yield even more benefits. For instance, combining shea and cocoa butters
creates a rich, creamy texture that is perfect for tackling dry patches while
delivering a subtle glow. Adding a dash of mango butter can lighten the overall
feel of the blend, making it suitable for daily use. This customization allows
you to tailor your butter blend not just to your skin type but also to specific
skincare goals, whether it’s combating dryness in winter or soothing irritation
after sun exposure. By experimenting with different ratios and combinations,
you’ll discover a world of possibilities that cater specifically to your unique
skincare needs.
In summary, understanding the
properties and benefits of shea, cocoa, and mango butters is key to creating
effective butter blends. Take the time to assess your skin type and concerns so
you can select the most suitable ingredients for your homemade concoctions.
With these insights, you’re well on your way to crafting personalized skincare
solutions that nourish and pamper your skin naturally!
Essential Ingredients for Your Butter Blend
When crafting your luxurious
butter blends, incorporating essential oils is a game changer. These
concentrated plant extracts not only add delightful scents but also offer a
myriad of skin benefits. For instance, lavender essential oil is renowned for
its calming properties and can help soothe irritated skin, while tea tree oil
boasts powerful antibacterial qualities, making it an excellent choice for
those prone to breakouts. By carefully selecting essential oils that resonate
with your skin's needs, you can create a blend that not only feels good but
also nurtures your skin.
In addition to essential oils,
consider enhancing your butter blend with carrier oils and other nourishing
ingredients. Carrier oils like jojoba, sweet almond, or argan oil serve as
fantastic bases that help dilute essential oils while providing additional
moisture and nutrients. For example, jojoba oil closely resembles the natural
sebum of our skin, making it an excellent choice for all skin types.
Additionally, adding vitamin E can prolong the shelf life of your blend and
provide extra antioxidant protection, promoting healthier skin.
Sourcing high-quality ingredients
is crucial for achieving the best results in your butter blends. Opt for
organic and unrefined butters, such as cocoa butter, which retains its natural
nutrients and scent. When purchasing essential oils, look for reputable
suppliers that provide information on their sourcing and purity to ensure
you're using genuine products. Local health food stores or online retailers
specializing in natural skincare products are often great places to find these
high-quality ingredients. Remember, the better the quality of your ingredients,
the more effective and enjoyable your butter blend will be!
By carefully selecting your
essential oils and additives while prioritizing quality, you'll set the
foundation for a truly luxurious butter blend that nourishes your skin and
delights your senses. Experimenting with different combinations can lead to personalized
creations tailored just for you!
Tools You’ll Need
Creating your own luxurious
butter blends is not only a rewarding experience but also an opportunity to
tailor skincare products specifically to your needs. To ensure a smooth and
enjoyable crafting process, having the right tools on hand is essential. At the
very least, you'll need a double boiler or a microwave-safe bowl for melting
your butters. This is particularly important when working with denser butters
like shea or mango butter, which require gentle heat to achieve that creamy
consistency. If you opt for a double boiler, it allows for more controlled
heating, reducing the risk of burning your ingredients.
In addition to melting equipment,
you'll want reliable measuring tools. Accurate measurements are crucial in
achieving the desired texture and effectiveness of your butter blend. A digital
kitchen scale can be a game-changer, allowing you to measure ingredients by
weight rather than volume, which is especially useful for solid butters. For
mixing, a hand mixer or whisk will help incorporate your butters with any
essential oils or additives evenly. If you're feeling adventurous, consider
using a stick blender for a super-smooth finish, particularly if you're
blending in carrier oils or natural exfoliants.
Safety should always be a
priority while crafting your butter blends. Ensure that all your equipment is
clean and sanitized to avoid contamination. When working with hot ingredients,
remember to use oven mitts to protect your hands from burns. Additionally, it's
wise to work in a well-ventilated area, especially if you're using potent
essential oils. Finally, keep your workspace organized; having everything
within reach will help you focus on the fun part—creating beautiful,
personalized butter blends that nourish your skin.
By gathering these essential
tools and following safety precautions, you'll set yourself up for a successful
DIY experience. Whether you're whipping up a rich cocoa butter blend or
experimenting with the lightness of mango butter, the right equipment will
enhance your crafting process and lead to delightful results. So gear up and
get ready to indulge in the art of creating your own luxurious butter blends!
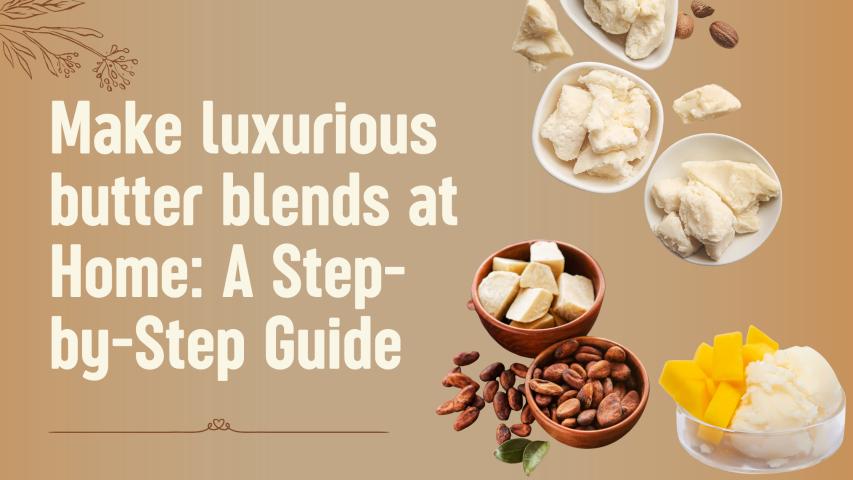
Step-by-Step Guide to Crafting Your Butter Blend
Creating your own luxurious
butter blends is not only rewarding but also a fun and creative process. To
begin, gather your selected butters—be it shea, cocoa, or mango—and cut them
into small chunks. This will help them melt evenly. Using a double boiler is
highly recommended for this step. Fill the bottom pot with water and bring it
to a gentle simmer before placing the top pot with your butters over it. This
method prevents direct heat from scorching the butters, allowing them to melt
smoothly into a creamy consistency. Stir occasionally until fully melted, and
be patient; this process usually takes around 10-15 minutes.
Once your butters are melted,
it's time to elevate your blend with essential oils and other additives. Essential
oils not only provide delightful fragrances but also offer various skin
benefits. For example, lavender
essential oil is known for its calming properties, while tea tree
oil can help with blemishes. As a general rule of thumb, aim for about
10-20 drops of essential oil per cup of butter blend, adjusting based on your
personal scent preference. Additionally, you may consider incorporating carrier
oils like jojoba or sweet almond oil
to enhance hydration or vitamin E for its antioxidant properties. Mixing these
ingredients while the butter is still warm ensures that they emulsify well
together.
Achieving the desired consistency
and texture is crucial for a successful butter blend. If you prefer a light and
fluffy texture, allow the mixture to cool slightly before whipping it with a
hand mixer or a whisk. This will introduce air into your blend, making it soft
and spreadable. For a denser consistency, simply let the mixture cool in its
container without whipping. Keep in mind that the final texture may vary
depending on the ratio of butters used and any additional ingredients added.
Experimenting with these factors will help you find the perfect balance for
your unique blend.
Finally, once you've achieved
your desired consistency, pour your butter blend into clean jars or containers
for storage. Allow it to cool completely at room temperature before sealing.
This step helps maintain its freshness and efficacy. With just a few simple
steps, you can create a personalized butter blend that meets your skincare
needs while indulging in the joy of DIY beauty. Happy blending!
Customizing Your Butter Blend
Once you've mastered the basics
of creating your butter blend, it’s time to unleash your creativity and
personalize it to meet your unique skincare needs. One of the most exciting
aspects of DIY beauty is the ability to customize scents using essential oils.
For a refreshing and uplifting blend, consider combining sweet orange and
peppermint essential oils, which can invigorate your senses while providing a
delightful aroma. Alternatively, for a calming and soothing experience,
lavender paired with chamomile can create a tranquil scent that promotes
relaxation. Don’t be afraid to experiment with different combinations; just
remember to keep the total amount of essential oils within a safe
limit—typically around 1-2% of the total mixture.
Adding natural exfoliants or
colorants can elevate your butter blend from basic to luxurious. For instance,
incorporating finely ground coffee or sugar can provide gentle exfoliation,
making your butter blend perfect for use in scrubs. If you’re looking to add a
splash of color, consider using natural colorants like beetroot powder for a
rosy hue or spirulina powder for a vibrant green tint. These additions not only
enhance the visual appeal but also offer additional benefits; beetroot powder
contains antioxidants that can help nourish the skin, while spirulina is rich
in vitamins and minerals.
When personalizing your butter
blend for specific skin concerns, it’s important to consider the properties of
each ingredient you choose. For dry skin, incorporating oils like jojoba or
argan oil can provide deep hydration, while those with oily or acne-prone skin
may benefit from lighter oils such as grapeseed or hemp seed oil. If you're
targeting signs of aging, consider adding vitamin E oil for its antioxidant
properties, which can help protect against environmental damage and promote
skin elasticity. Tailoring your blend based on your skin type ensures that
you’re not only indulging in a luxurious treat but also addressing your
individual skincare needs effectively.
In essence, customizing your butter blend is about embracing the power of natural skincare while reflecting your personal >
Storing and Preserving Your Butter Blends
Once you’ve crafted your
luxurious homemade skincare butter blends, it’s essential to store them
correctly to maintain their freshness and effectiveness. The best practice is
to use clean, airtight containers made of glass or BPA-free plastic. Glass jars
not only look beautiful on your vanity but also help preserve the integrity of
your blends by minimizing exposure to air and light, which can degrade the
quality of natural ingredients over time. Ensure that your containers are
sterilized before filling them with your butter blends to prevent any
contamination.
The shelf life of your butter
blends largely depends on the ingredients used. For instance, shea butter and
cocoa butter have a longer shelf life—up to two years when stored
properly—while carrier oils like jojoba or sweet almond oil generally last
around 6-12 months. To extend the life of your creations, consider adding
vitamin E oil, which acts as a natural preservative and antioxidant.
Additionally, always check for any changes in scent or texture before using
your blends; if they smell off or have changed consistency, it’s best to
discard them.
To keep your products fresh,
store them in a cool, dark place away from direct sunlight and heat sources. A
bathroom cabinet or a cool pantry can be ideal spots. If you live in a warmer
climate, consider refrigerating your butters to prolong their freshness,
especially if you’ve added ingredients that are more prone to spoilage.
Moreover, remember to use clean utensils each time you scoop out product to
avoid introducing bacteria into your blend, which could compromise its quality.
By following these simple storage
and preservation tips, you can ensure that your homemade skincare butter blends
remain effective and delightful to use for as long as possible. Embracing the
art of DIY beauty not only empowers you with personalized skincare solutions
but also allows you to enjoy the satisfaction of knowing exactly what’s in your
products. So go ahead, indulge in your luxurious creations, and take pleasure
in sharing them with friends and family!
Common Mistakes to Avoid
Creating your own luxurious
butter blends is a rewarding experience, but it's easy to fall into common
pitfalls that can lead to less-than-ideal results. One frequent mistake is not
measuring ingredients accurately. While it might seem tempting to eyeball the
quantities, precision is key in achieving the desired consistency and texture.
For instance, if you add too much carrier oil to your butter blend, you might
end up with a greasy product that doesn’t absorb well into the skin. Always use
a kitchen scale or measuring spoons for accurate measurements, ensuring that
your nourishing products maintain their integrity.
Another area where DIY
enthusiasts often stumble is in the blending process itself. Overheating your
butters can change their properties and result in an undesirable texture. If
your mixture becomes too hot, it may separate or lose its creamy consistency.
To troubleshoot this, always melt your butters gently using a double boiler or
a microwave at low power in short bursts. This allows you to monitor the
temperature closely and prevent overheating. If you find your butter blend is
too hard after cooling, you can re-melt it gently and adjust by adding more
liquid oils until you reach your preferred consistency.
Scent issues can also arise when
working with essential oils. Using too much can overpower the blend or cause
skin irritation, while too little might leave your butter blend lacking in
fragrance. It's best to start with small amounts and gradually increase until
you achieve the desired scent profile. Always remember to patch test your
creations before full application, particularly if you're experimenting with
new essential oils. Apply a small amount of your butter blend on a discreet
area of skin and wait 24 hours to ensure there’s no adverse reaction. This
simple step can save you from uncomfortable surprises down the line.
Ultimately, creating your own
butter blends should be an enjoyable process filled with experimentation and
discovery. By avoiding these common mistakes and being mindful of how you
measure, mix, and test your products, you'll be well on your way to crafting
effective and beautiful nourishing products tailored specifically for your
skin. Happy blending!
The Benefits of Using Homemade Butter Blends
Creating your own luxurious
butter blends not only allows you to indulge in a personalized skincare
experience but also offers significant cost savings compared to purchasing
commercial products. Store-bought body butters often come with a hefty price tag,
especially those that tout natural ingredients. By making your own blends at
home, you can utilize bulk ingredients and create multiple batches for a
fraction of the cost. For instance, a single jar of high-quality shea butter
can yield several custom blends when combined with other ingredients, making it
an economical choice for beauty enthusiasts.
Moreover, opting for DIY butter
blends has a positive environmental impact. Many commercial beauty products are
packaged in plastic containers that contribute to pollution and waste. By
crafting your own blends, you can choose sustainable packaging options or even
repurpose containers you already have at home. This eco-conscious approach not
only reduces waste but also empowers you to take control of what goes onto your
skin, steering clear of harmful chemicals often found in mass-produced items.
The ability to select organic and ethically sourced ingredients further
enhances the sustainability of your beauty routine.
Beyond the financial and
environmental benefits, making your own butter blends fosters a sense of
empowerment. Embracing natural skincare practices allows you to connect with
the ingredients you use and gain a deeper understanding of their effects on your
skin. Each time you whip up a custom blend tailored to your specific skin type
and needs, you're not just creating a product; you're engaging in a ritual that
promotes self-care and mindfulness. This hands-on approach can be incredibly
fulfilling, as you witness firsthand the transformation of raw materials into
nourishing skincare solutions.
In conclusion, the benefits of
homemade butter blends extend far beyond mere aesthetics. They provide an
affordable alternative to high-end products, promote environmental
sustainability, and empower you to take charge of your skincare journey. So why
not dive into the world of DIY beauty? Experimenting with custom blends can
lead to delightful discoveries that enhance both your skin health and your
overall well-being.
Embrace the Art of DIY Butter Blends
Making your own luxurious butter
blends is not just a creative outlet; it’s a rewarding experience that connects
you to natural skincare. You have the power to customize each blend to suit
your unique skin needs. The joy of experimenting with different butters and
essential oils can lead to personalized solutions that nourish your skin and
elevate your self-care routine.
We encourage you to dive in and
explore the world of DIY butter blends. Don’t be afraid to try new combinations
and discover what works best for you. And remember, the DIY beauty community is
vibrant and welcoming. Share your creations and experiences with others, and
inspire fellow enthusiasts to embrace the beauty of homemade skincare. Your
journey into the art of butter blending awaits!