
Introduction
How to write a check: A check (spelled “cheque” in many parts of the world) is a written order directing a financial institution to pay a specified amount from the drawer’s account to a designated payee. Although electronic payments have become more prevalent, checks remain an important method of payment for personal transactions, bill payments, and certain business dealings. Writing a check accurately and securely is essential because errors or omissions can delay payment or even open the door to fraud.
- Social Security payments update 2025: Simplified Guide to Securing Your Financial Future
- Lead Sourcing 2025: Tips, Tools, and Strategies to Accelerate Your Business Growth
Key points to keep in mind:
- ✔️Reliability: When written correctly, a check is a reliable, paper-based payment method.
- ✔️Security: Properly filling out a check—using a pen, avoiding blank spaces, and keeping duplicate records—helps prevent unauthorized alterations.
- ✔️Global Variation: While the United States typically uses “check” (and follows guidelines under the Uniform Commercial Code), many other countries use “cheque” and have similar yet sometimes slightly different practices (for example, regarding validity periods or postdating rules).
Types of Checks
Different types of checks are available to meet various needs. Understanding these variations can help you choose the most appropriate instrument for a given transaction:
- Personal/Regular Checks:
These are the most common and are used for everyday transactions. The drawer writes the check against their personal account. - Business Checks:
Similar to personal checks but issued by companies or organizations, they may include additional security features and business information. - Cashier’s Checks (or Bank Cheques):
Issued and guaranteed by the bank rather than the individual, cashier’s checks draw on the bank’s funds. They are often used for large transactions where guaranteed funds are required. - Certified Checks:
When a certified check is written, the bank confirms that sufficient funds are available and then “certifies” the check by earmarking those funds. This prevents the check from bouncing. - Traveler’s Checks:
Once popular with travelers for their replaceability and security, these are preprinted, fixed-amount checks that can be replaced if lost or stolen. Their use has declined with the advent of debit and credit cards. - Money Orders/Postal Orders:
These are prepaid instruments sold by banks, post offices, or other vendors and are guaranteed by the issuing institution. They are useful for low-value payments and for people without bank accounts.
In addition to these, you might encounter specialized forms such as postdated checks (written with a future date), bearer checks (payable to whoever holds them), and counter checks (issued by a bank when a customer runs out of personalized checks).
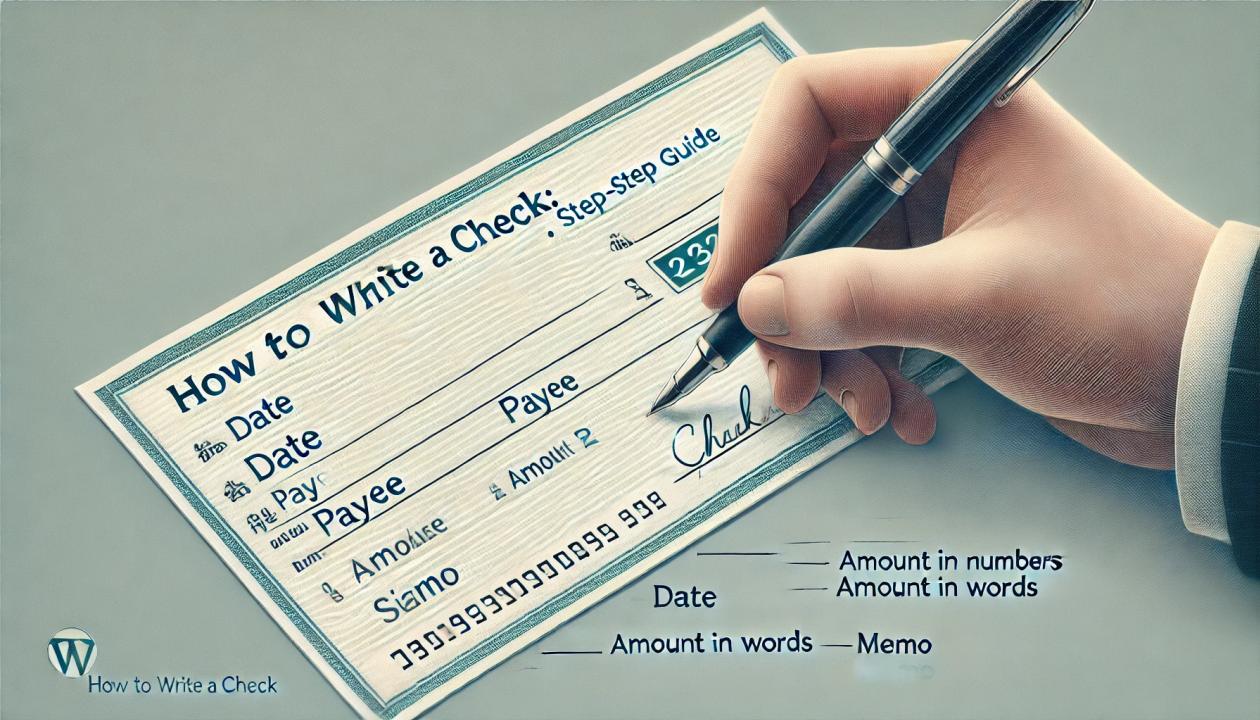
Format: Step-by-Step Guide to Writing a Check
Following the correct format is essential for ensuring that your check is processed without issues. Below is a clear, step-by-step process:
Step 1: Write the Date
- Location: Top right corner of the check.
- Instructions:
- Write the current date (e.g., “March 5, 2025”).
- If you wish to postdate (set a future date), be aware that not all banks honor postdated checks.
- Purpose: Establishes when the check was written and helps prevent the check from being cashed after a long delay.
Step 2: Fill in the Payee’s Name
- Location: Next to or below the phrase “Pay to the order of.”
- Instructions:
- Write the full legal name of the recipient (person or company).
- Ensure the name is spelled correctly to avoid processing delays.
Step 3: Enter the Amount in Numbers
- Location: In the small box typically found on the right side of the check.
- Instructions:
- Write the exact amount in numerical form (e.g., “$150.75”).
- Include both dollars and cents, making sure that the figures are clear and legible.
Step 4: Write the Amount in Words
- Location: On the line directly below the payee’s name.
- Instructions:
- Write the same amount in words (e.g., “One hundred fifty and 75/100”).
- Draw a line after the written amount to prevent any additional words or numbers from being added.
- Purpose: Acts as a double-check to confirm the numerical amount and helps prevent fraud.
Step 5: Add a Memo (Optional)
- Location: The memo line at the lower left of the check.
- Instructions:
- Write a brief note describing the purpose of the check (e.g., “June Rent” or “Invoice #123”).
- This helps both you and the payee keep track of the payment.
Step 6: Sign the Check
- Location: Bottom right-hand corner of the check.
- Instructions:
- Sign using the same signature that is on file with your bank.
- An unsigned check will not be processed.
Step 7: Record the Transaction
- Action:
- Immediately note the check number, date, payee, and amount in your checkbook register or financial app.
- Purpose:
- This helps you track your spending and prevents overdrawing your account.
Format and Example of a Check:
Date:        March 00, ....

Pay to the Order of:       ABC Utilities                      $150.75

One hundred fifty and 75/100 ---------------------------------------------

Memo:       June Electric Bill

Signature:  [MuhammadHashim]