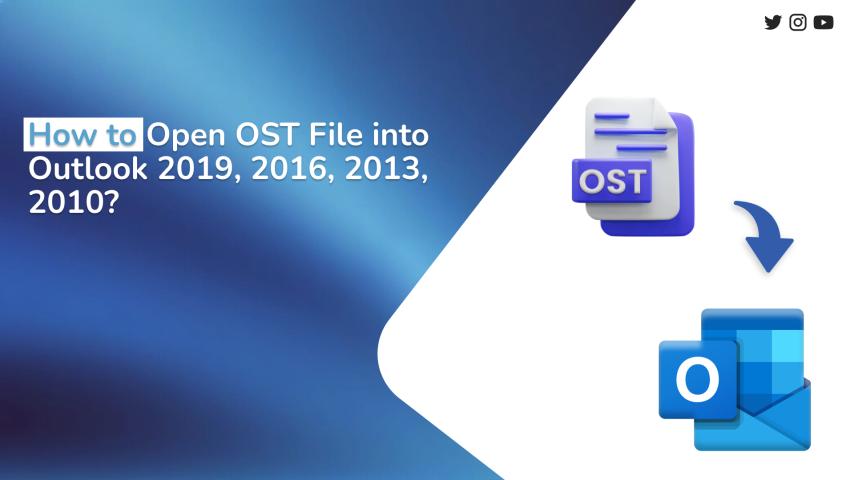

If you’ve been using Microsoft Outlook to manage your
emails and calendar, you might have come across OST (Offline Storage Table)
files. These files allow you to work offline with your email data when connected
to an Exchange server. However, when it comes to importing OST files into
Outlook, many users are left wondering about the process and its limitations.
This article will guide you through understanding OST files and how you can
manage them effectively.
What is an OST File?
OST files are created by Microsoft Outlook when you
configure your account to use Microsoft Exchange, Office 365, or Outlook.com.
They allow you to work with your emails, calendars, and contacts even when you
are not connected to the internet. Changes made while offline are synchronized
with the server once you reconnect.
Can You Import OST Files Directly into Outlook?
The short answer is no. Microsoft Outlook does not support
direct import of OST files. This limitation is mainly because OST
files are tied to a specific user profile and Exchange server. However, there
are ways to recover and use the data contained in an OST file.
How to Access Data from an OST File to PST with Professional Software?
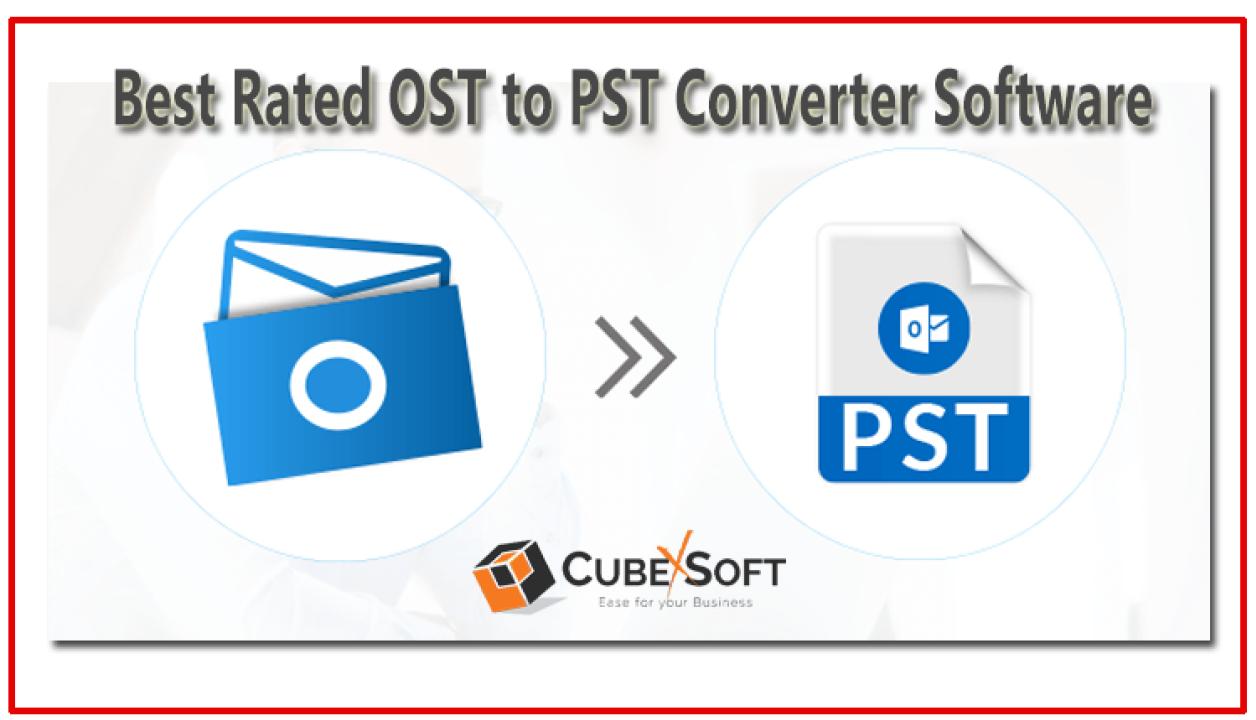
1. Convert OST to PST
Since OST files cannot be directly imported, one common
method is to convert them to PST (Personal Storage Table) files, which Outlook
can easily import. There are several tools available, both free and paid, that
can help with this conversion. Here’s a general outline of the process:
You can try one of the best tools CubexSoft OST Converter
for Mac & Windows tool. This software comes with so many unique and amazing
features for users to easily bulk export OST files to PST file format and other
formats such as PDF, MBOX, EML, MSG, DOC, RTF, TXT, Office 365, and many more. This
software allows you to export selected offline OST files including all emails,
contacts, calendars, tasks, notes, and other items. During the conversion process,
the program keeps all the folder structures without any changes or data loss. It
was workable on both macOS and Windows OS including Windows 11. You can also
try the free evaluation of the software and convert the first 25 items without
any cost.
Follow these steps:
1.
Firstly, install the OST to PST Converter
software on your PC.
2.
Then open the tool and click on Add Files, Add
Folders, or Load Outlook Profiles button to load OST Files.
3.
After loading OST files, view and choose the
selected items that you want to convert.
4.
Now, click on Saving Options and select the
saving output formats from the list.
5.
Browse the location path to save the converted
items and click on the Convert button.
6.
After clicking on the Convert button, the software
starts the conversion process instantly. After completion of the process, the software
will display a message: Process Completed Successfully.
7.
Now, click on the OK button to end the process.
2. Import the PST File into Outlook
After converting your OST file to PST, you can easily import
it into Outlook:
1.
Open Outlook and go to File.
2.
Select Open & Export.
3.
Click on Import/Export.
4.
Choose Import from another program or file and
click Next.
5.
Choose Outlook Data File (.pst) and click Next.
6.
Browse to the location of your converted PST
file and choose the appropriate options for importing (e.g., duplicates).
7.
Click Finish to complete the import process.
Conclusion
While you cannot directly import OST files into Outlook,
converting them to PST format provides a practical solution for accessing your
offline email data. By following the steps outlined in this article, you can
recover and utilize the information stored in your OST files effectively.
Always ensure to keep your Outlook and server settings in check to avoid future
complications with your email data.