Our concrete surfaces are exposed to the elements every single day. Heavy footfall, hot sun, rain, and vehicle traffic can all negatively affect our patios, driveways, and paths, leading to significant wear and tear over time! Even the most durable concrete can eventually crack, discolour, and age. Nobody wants to replace entire concrete slabs because it’s time-consuming and expensive, but thankfully, there is a more straightforward solution: concrete resurfacing!
A concrete resurfacer is an easy and cost-effective way to refresh your concrete surfaces without completely replacing them. However, the success of your concrete resurfacing project can come down to one crucial factor: choosing the right one! Many types are available for various applications and aesthetic needs, so you must choose the right one.
In this guide, we’ll show you what concrete resurfacer is, and how to select the right one for your project. So, if your driveway, patio or pathway looks worn down, read on to find out how to get it looking like new once again!
What Is Concrete Resurfacing?
So, what actually is concrete resurfacing? It involves applying a thin layer of a specially formulated mix, concrete resurfacer, over your existing concrete surface. This new layer bonds with the old surface, covering imperfections such as cracks, surface flaking, and minor discolourations. Unlike patching or repainting, resurfacing provides a durable, long-lasting finish that improves your surface's appearance and enhances its strength to resist further damage!
One of the main reasons many people choose resurfacing is cost-effectiveness. Replacing a concrete slab involves demolition, removal, and pouring new concrete, which can be expensive and disruptive. Resurfacing, on the other hand, is much easier and more affordable! It’s also quicker—most resurfacing projects can be completed in just a day or two, depending on the area and the product used.
Using concrete resurfacing is a great way to carry out preventative maintenance. By resurfacing your concrete, you’re not just covering up existing damage—you’re adding a protective layer that helps prevent further cracking, water penetration, and surface deterioration! Another great thing about concrete resurfacers is that many resurfacing products offer slip-resistant properties, which makes them ideal for areas like pool decks and patios.
Resurfacing is also an environmentally friendly option. It reuses the existing concrete base, reducing waste and the need for new materials. This approach not only saves money but also minimises the environmental impact of your renovation project!
Different Types of Concrete Resurfacer
Many types of concrete resurfacers are available, and each can address a specific need, condition, or aesthetic preference. We’d be here all day if I described every single type, so here are the most common ones:
Polymer-Based Resurfacers:
These are highly versatile, blending polymers with cement for enhanced adhesion, flexibility, and durability. Ideal for indoor and outdoor use, they are resistant to cracking and can handle various weather conditions. Polymer-based resurfacers are perfect for driveways, patios, and high-traffic areas!
Cement-Based Resurfacers:
These are made mainly from Portland cement and are designed for heavy-duty applications like driveways, garage floors, and industrial settings. They provide a robust, durable finish that can withstand significant wear and tear, making them a popular choice for high-traffic surfaces.
Self-Leveling Resurfacers:
These resurfacers are designed to create smooth, level surfaces on floors and large areas. They are easy to apply and require minimal manual effort, making them ideal for DIY projects. Self-levelling resurfacers are commonly used indoors in basements, kitchens, and living spaces.
Decorative Resurfacers:
Decorative resurfacers offer a range of colours, textures, and finishes for those looking to enhance aesthetics! They are perfect for patios, pool decks, and walkways, and you can even customise them with stencils, stamps, or colour additives to achieve a unique look.
Step-by-Step Guide to Selecting the Right Concrete Resurfacer
Choosing the right one can feel overwhelming with many types of resurfacer available! But don’t panic; follow this step-by-step guide to pick the right one for your project.
Step 1: Assess Your Surface
The first step in selecting the right concrete resurfacer is thoroughly assessing your existing surface's condition. Look for common issues such as cracks, spalling, discolouration, or uneven areas. You’ll also need to determine the extent of damage—cosmetic or structural—as this will help you decide which type of resurfacer you need. For example, minor cracks and surface imperfections can often be addressed with a basic resurfacer, while more severe damage may require a heavy-duty product with superior bonding strength. Understanding the condition of your surface will help you choose a resurfacer that effectively addresses your specific needs!
Step 2: Define Your Goals
Next, clearly define what you want to achieve with your resurfacing project. Are you looking to repair and strengthen your concrete, enhance its appearance, or both? Opt for a robust cement-based resurfacer if your primary goal is durability and functionality, especially in high-traffic areas like driveways or garages. For aesthetic enhancements, such as adding colour or texture to patios or walkways, decorative resurfacers offer a wide range of finishes. Knowing your goals will guide your choice between practical, performance-focused products and those designed for visual appeal.
Step 3: Choose the Right Type of Resurfacer
With your surface assessment and project goals in mind, it’s time to choose the specific resurfacer that best fits your needs! Since you’re already familiar with the different types of resurfacers, focus on matching the product’s strengths to your project requirements.
If your surface is in a high-traffic area or exposed to harsh weather, prioritise durability. Look for resurfacers known for high compressive strength and superior adhesion, such as cement-based or polymer-modified options.
For surfaces where appearance matters—like patios, pool decks, or entryways—select a decorative resurfacer that offers customisable finishes, colours, or textures. This will allow you to enhance the space's look and functionality.
For large, flat surfaces like interior floors or uneven garage areas, a self-levelling resurfacer will provide a smooth, flawless finish with minimal effort, making it an excellent choice for DIY enthusiasts.
Ensure the resurfacer you select aligns with your project's application demands, environmental exposure, and maintenance expectations! Choosing the right type will address current surface issues and provide lasting results that meet practical and aesthetic goals.
Step 4: Choose Your Application Method
Decide whether you will apply the resurfacer yourself or hire a professional. Some resurfacing products are DIY-friendly and have straightforward instructions, making them easy for homeowners to use with essential tools. However, more advanced resurfacers, especially self-levelling or decorative options, may require professional application to achieve optimal results! If you opt for a DIY approach, consider ease of use, setting time, and the level of expertise needed for the product you choose.
Step 5: Set Your Budget
Budgeting is another crucial step in your selection process. Resurfacers vary widely in cost depending on their type, quality, and brand. So, you’ll need to factor in the product's price, additional materials like primers or sealers, and any necessary tools. If hiring a professional, include labour costs in your budget planning. Investing in a high-quality resurfacer may have a higher upfront cost, but it will pay off in durability and reduced maintenance needs over time! Make sure your budget works with your project scope and long-term expectations.
By following these steps, you can feel confident that your choice of concrete resurfacer will suit your needs and budget!
Tips for a Successful Resurfacing Project

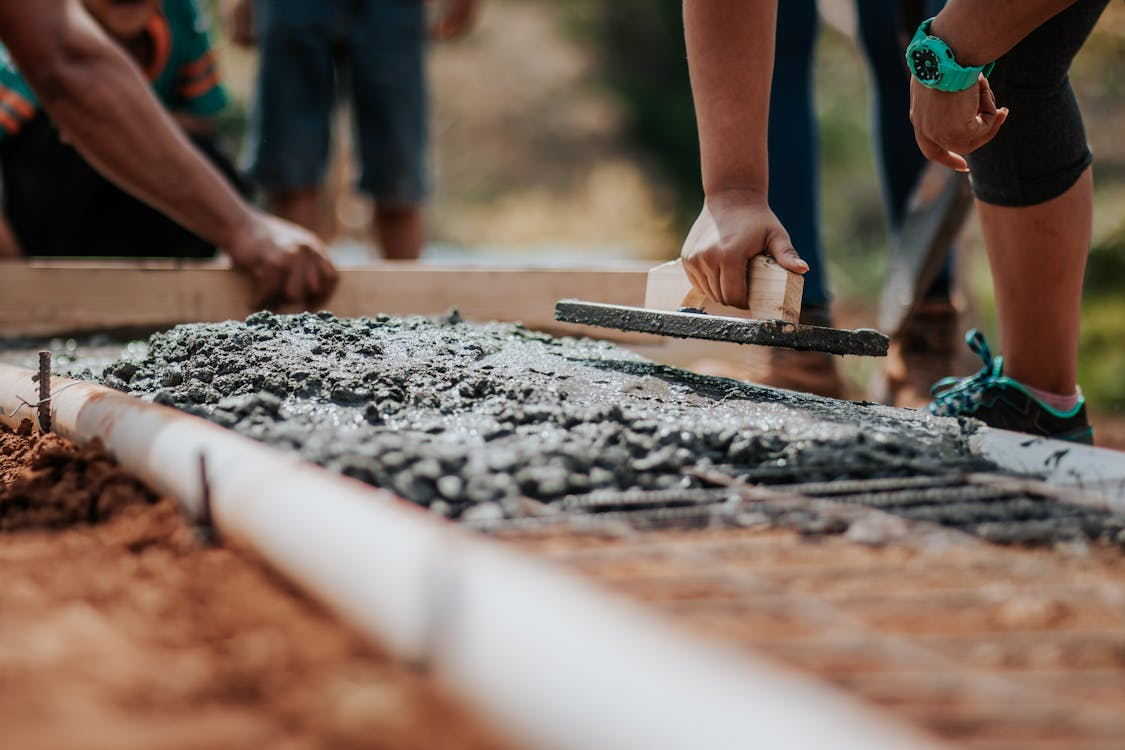
Successfully resurfacing your concrete surface requires more than selecting the right product—it also involves proper preparation, application, and maintenance. A key factor in ensuring your project’s success is thorough surface preparation. Clean the concrete thoroughly, removing dirt, oil, grease, and loose debris, allowing the resurfacer to bond effectively! Using a pressure washer can greatly help stubborn stains, and repairing any significant cracks or holes before resurfacing is essential for a smooth finish.
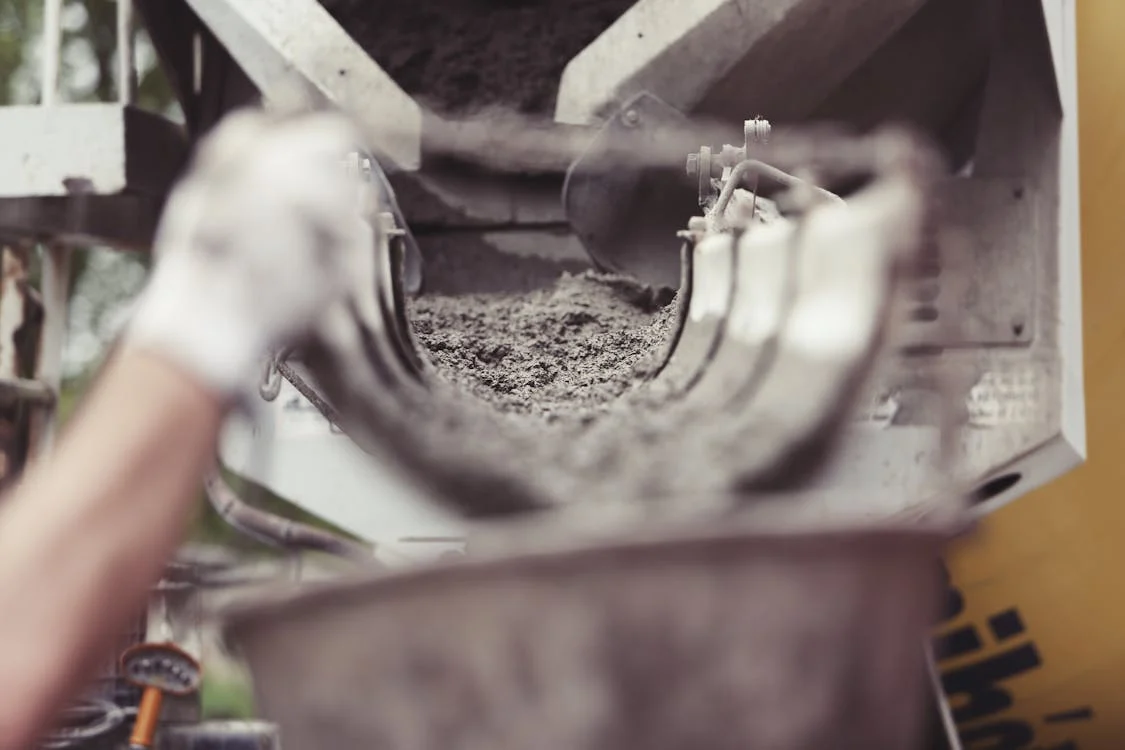
Following the manufacturer’s instructions is crucial, as each resurfacing product has specific guidelines for mixing, application, and curing times. Pay close attention to these details to avoid common mistakes, such as improper mixing ratios or incorrect application techniques, which can compromise the resurfaced's performance and longevity.
Working in suitable weather conditions is also essential! Moderate temperatures are ideal for application, while extreme heat, cold, or rain can impact the curing process and affect the resurfacer’s adhesion and finish quality. Finally, always prioritise safety by using protective gear, including gloves, safety glasses, and a mask, to shield yourself from dust, chemicals, and fumes.
By following these tips, you can achieve durable, attractive, resurfaced concrete that enhances your space's appearance and functionality!